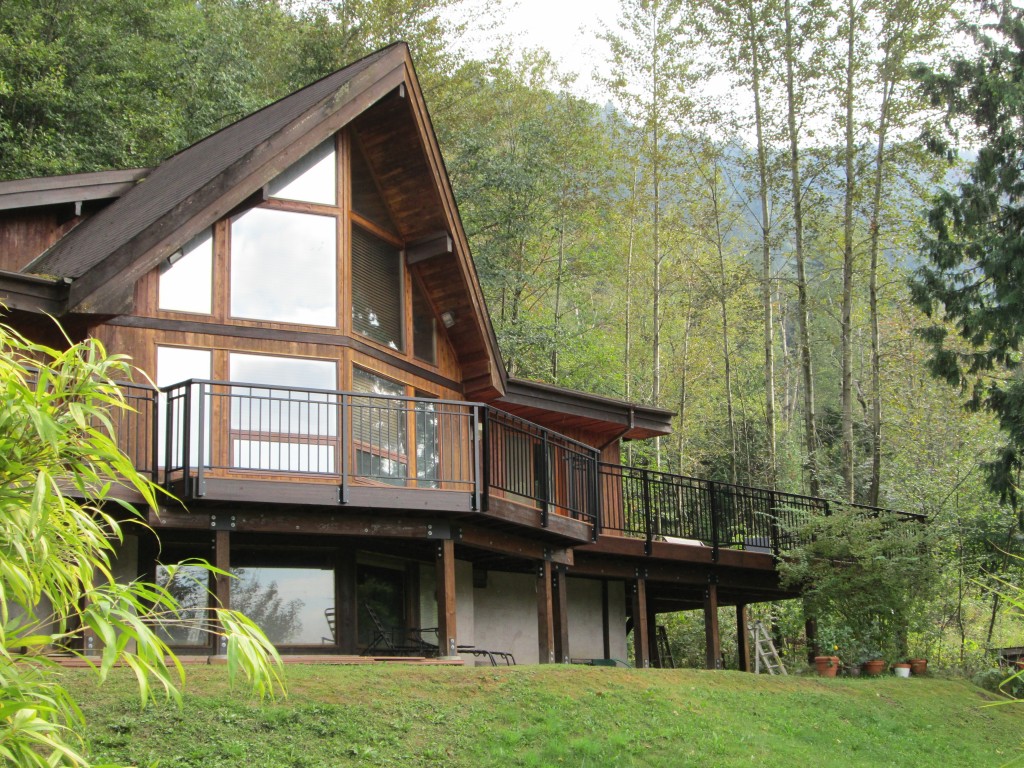
Well this has to be the day we call this project finished. There are still a few details to work out, and the railings are out of my control and being manufactured by a local company right now…awaiting their call on when they will want to come and install them.

I haven’t posted an update in quite some time, certainly because i have been busy building the deck. Other updates not made is our decision to rename this project from the Deck Project, to the Addition Project. When I get a more complete timeline and photo journal completed the reason for the rename will become apparent…THIS WAS A HUGE PROJECT!!!

We secured the funds for this project back in early 2007 after 17 years of house construction, broke ground in 2010 (predug footings) after working with a designer from Streamline Designs in Abbotsford, and started actual construction in early 2011.

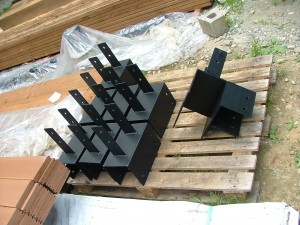
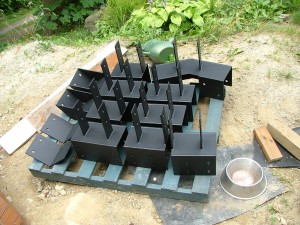
It was a long process of welding all the brackets, building a support structure that was strong and flat to accommodate our choice of decking, the Timbertech XLM product in Harvest Bronze colour.

As time passes I will try and update coverage of the process with the many photos, and stories I have logged during the process….stay tuned for updates.


So I am coming to the point where I am going to be installing the 14 foot joists. These boards need to be straight, so I’ve got them stacked and stickered to reduce warpage.
I also have the longest perpendicular run across the joists, which means I have to pay special attention to the thickness of the joists since they vary in width by up to 1/2 inch. So I have to make sure that they decrease in width as they get forther from the house. This means they should all be of similar dryness, and I have to select and sort through them all, rather than just picking the top one and cutting to length and treating.


Well, here we are in the new year, lots of work left to do on the deck. Today I did some staining of the blocking I cut up the other day. Too cold to do it indoors, and the fumes from that stain are just wicked, my eyes and nose are telling me so.  Makes the whole house stink bad.


Our December weather has been pretty warm, typically 5-8C, one day last week I woke up to 11.5C. Today I went outside and cut up all the 2×10 scraps that were long enough for blocking


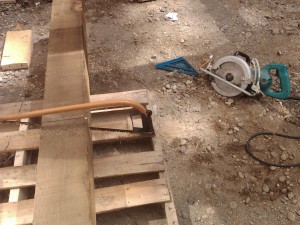
Try and cut an actual 6×6 with your standard 7.25″ saw, and you don’t quite make it.


Here are all the upper brackets finished. They were designed after the equivilent Simpson brackets, except for the corner and prow brackets.


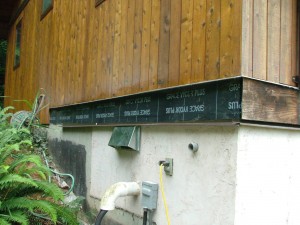
Here is a shot of the new HRV intake vent I had custom made. Hopefully it won’t require cleaning as often as the old one did. You can also see the “flexible flashing”, or sticky rubber sheeting to deflect any water that may get behind the ledger board…but by seeing what 20 years had done to the false ledger boards (nothing) this proably won’t do much other than seperate the metal flashing from the treated wood. I also used it along the tops of the built up beams, to shed water.

You can also see dust on the siding from where I had to grind down the stucco siding about one inch because the old false ledger boards had a 3/4 inch rabbet on the bottom back side to act as a drip edge overtop of the stucco. To use a full unadulterated ledger board, this top inch had to be removed all the way around the house. I used a 4 inch side grinder along a chalk line.


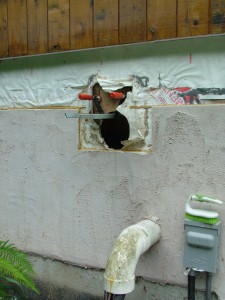
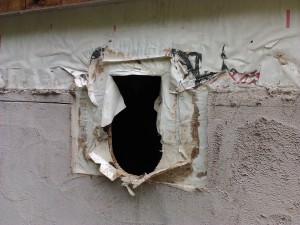
Here I am patching the sheathing after cutting the vent hole down about three inches.


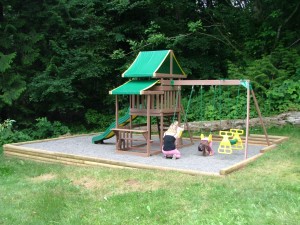
I know this isn’t part of the deck project, but it was a 4 week project to create a level area, fill with pea gravel, and erect the playset.


Here is the HRV intake vent after I removed and cut out for a new one.

© 2012 Life Suffusion theme by Sayontan Sinha